Demystifying React Router DOM: A Step-by-Step Tutorial

In this blog, we will explore React Router, a popular third-party library in the React ecosystem, and discover how to harness its power to manage routing and navigation in single-page applications. By the end of this guide, you'll be able to create efficient and user-friendly navigation systems for your React applications.
I am assuming that you have set up your react project so let's start by installing the react-router-library by running the npm install react-router-dom command in your project directory. Also please note we will be using Tailwind CSS for fast development so set up your project for that also. You can easily do that by clicking here.
Let's start off by creating some basic components which will be rendered on the screen. In this blog, we will mainly focus on understanding the router and not on CSS so you can just copy-paste the code within your project directory to follow along easily.
Within your src folder create a folder named components and follow a structure as shown below

As you can see we have divided our entire project into components for easy understanding. I have the basic code for each of the components below copy-paste it then we will understand how to do routing among them.
- About.jsx
import React from 'react'
import Header from '../Header/Header'
import Footer from '../Footer/Footer'
function About() {
return (
<div>
<Header/>
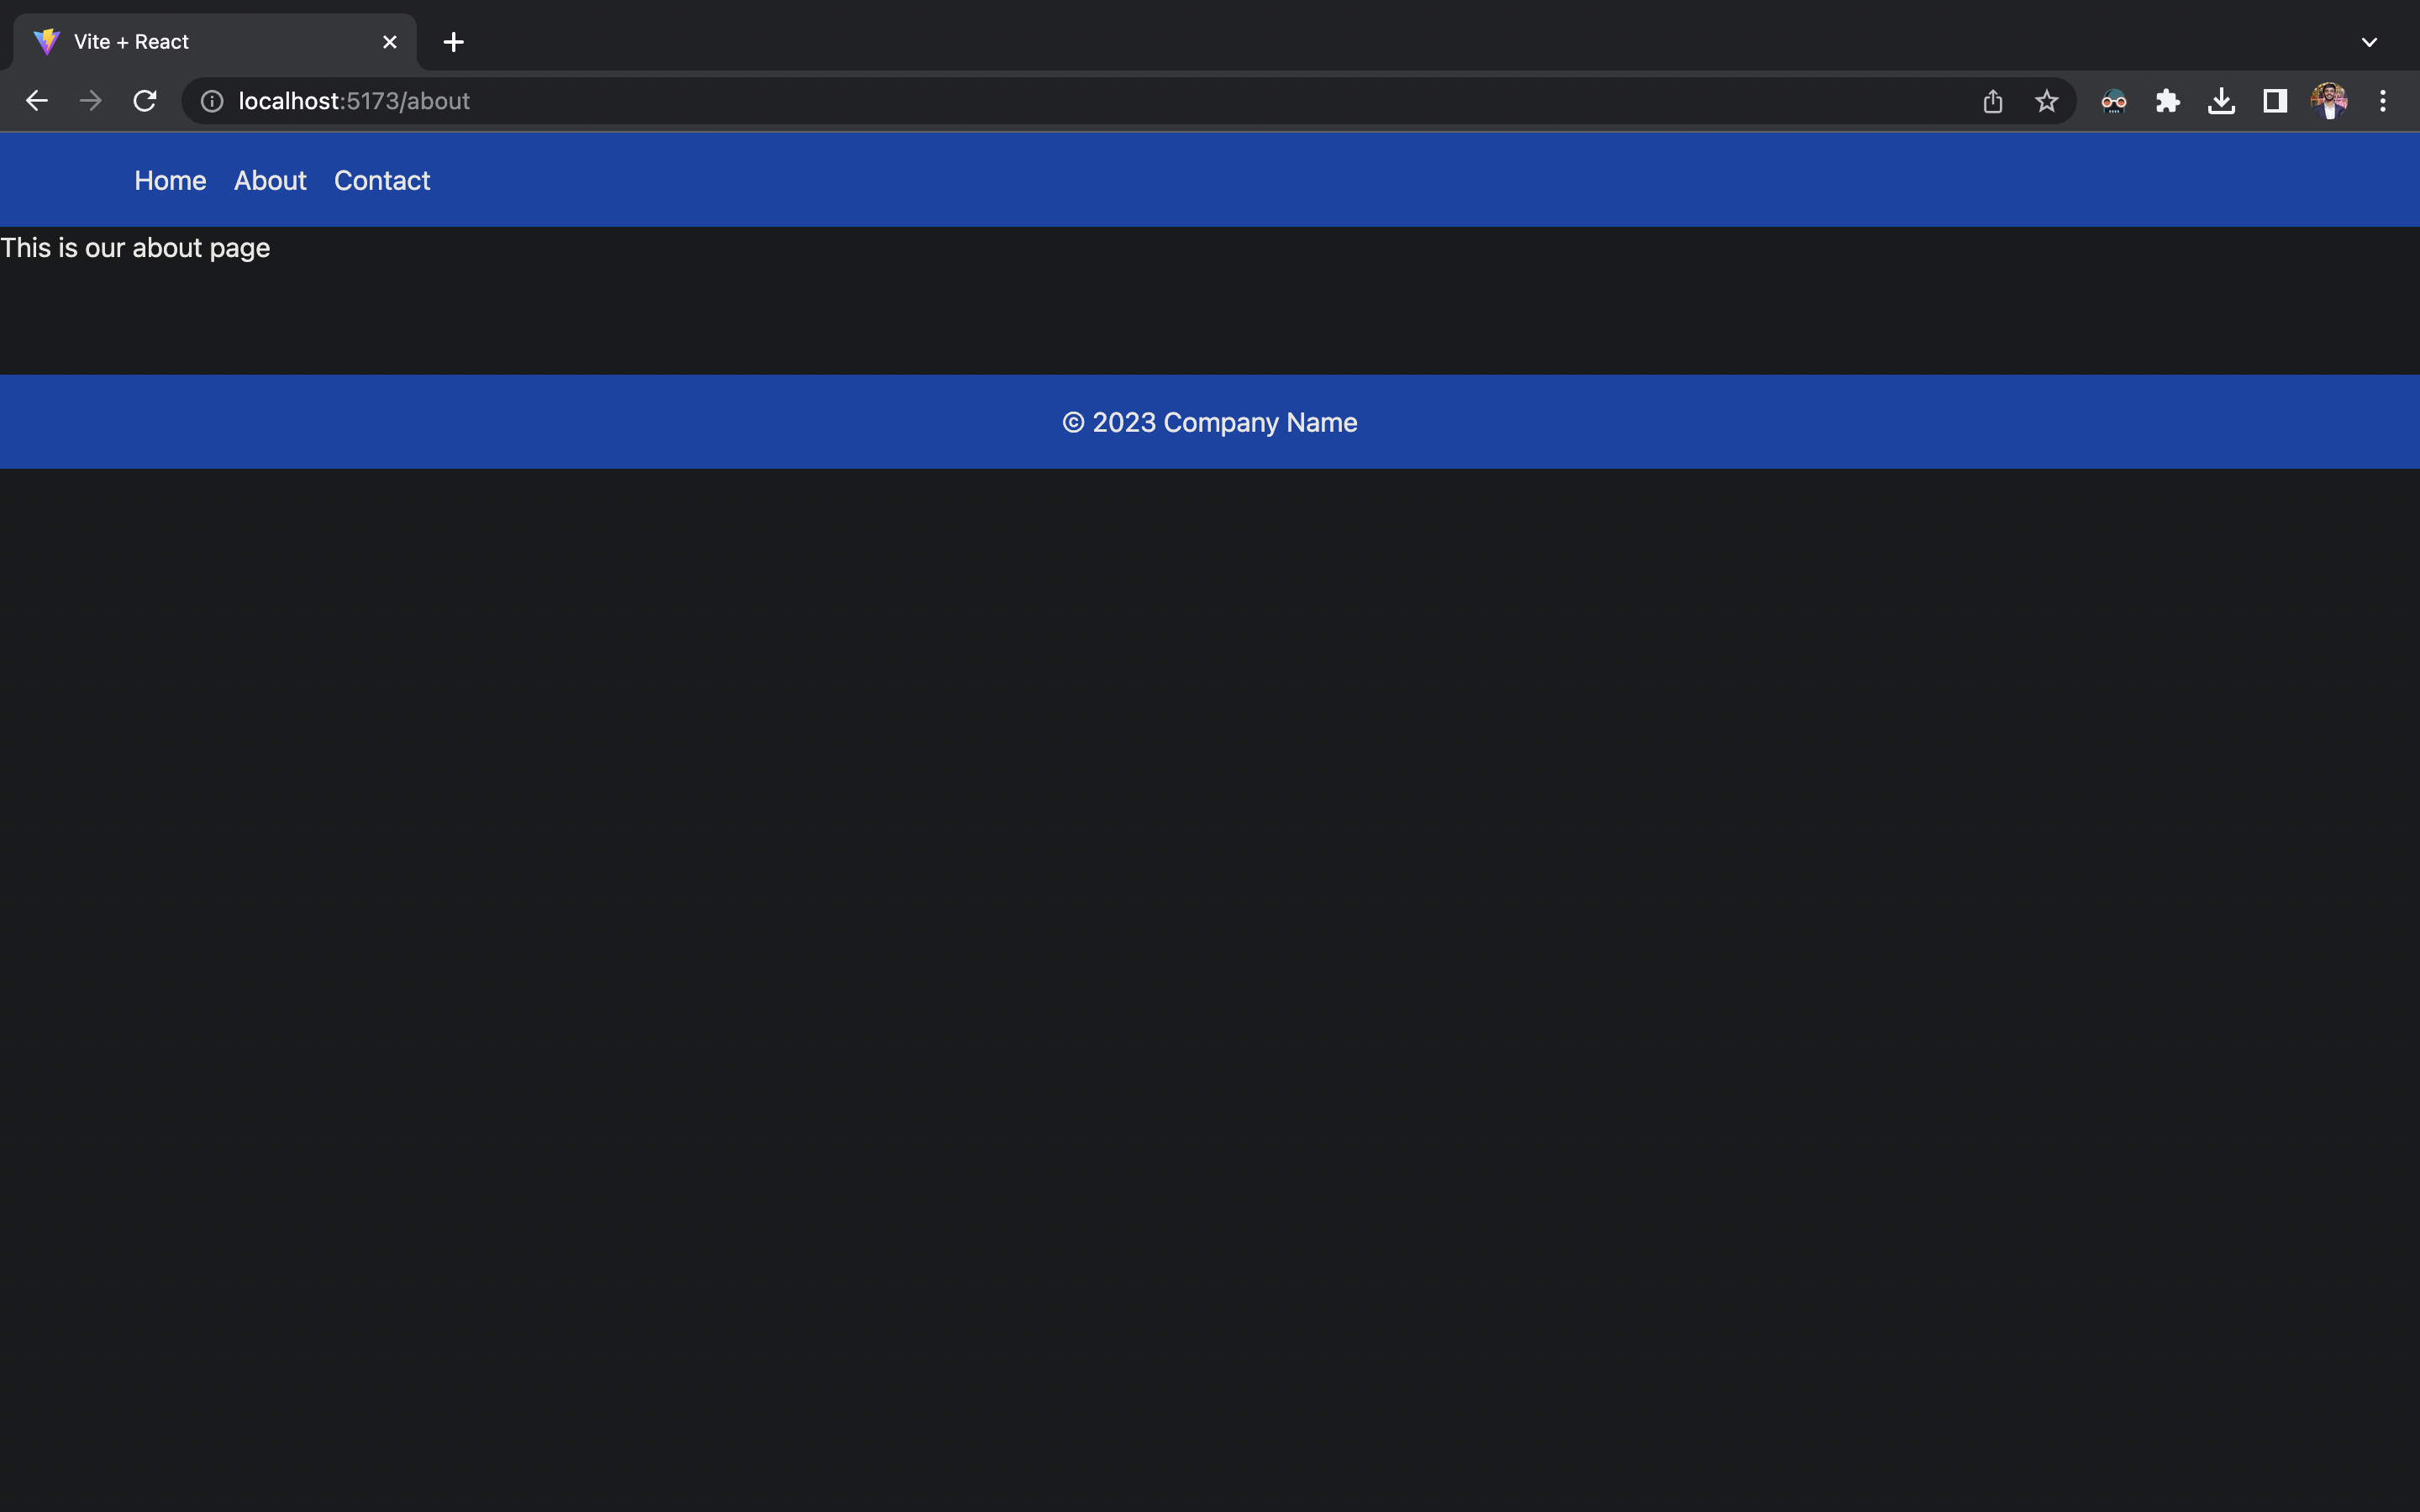
<h1>This is our about page</h1>
<Footer/>
</div>
)
}
export default About
- Contact.jsx
import React from 'react'
import Header from '../Header/Header'
import Footer from '../Footer/Footer'

function Contact() {
  return (
    <div>
        <Header/>
        <h1>This is out contact us page.</h1>
        <Footer/>
    </div>
  )
}

export default Contact
- Footer.jsx
import React from 'react';
const Footer = () => {
return (
<footer className="bg-blue-500 text-white p-4 my-16">
<div className="container mx-auto">
<p className="text-center">© {new Date().getFullYear()} Company Name</p>
</div>
</footer>
);
};
export default Footer;
- Header.jsx
import React from 'react';
import {Link} from 'react-router-dom';

const Header = () => {
  return (
    <header className="bg-blue-500 p-4">
      <nav className="container mx-auto flex justify-between items-center">
        <ul className="flex space-x-4">
            <li>
                <Link to="/" className="text-white">
                    Home
                </Link>
            </li>
            <li>
                <Link to="/about" className="text-white">
                    About
                </Link>
            </li>
            <li>
                <Link to="/contact" className="text-white">
                    Contact
                </Link>
            </li>
        </ul>
      </nav>
    </header>
  );
};

export default Header;
Here in the above code of Header.jsx we are using Link which is a react element from react-router which let's user navigate between different pages. It is similar to <a> tag but it doesn't load the entire page but only changes the required elements keeping others the same.
- Home.jsx
import React from 'react'
import Header from '../Header/Header'
import Footer from '../Footer/Footer'

function Home() {
  return (
    <>
        <Header/>
        <div>
        <h1>This is our Home page</h1>
        </div>
        <Footer/>
    </>
  )
}

export default Home
If you have followed this far and have tried to run your react application then you must have seen an error but don't worry about it we will fix that pretty soon that's because we haven't configured the routes.
Open your Header.jsx there you can see something like this
<Link to="/about" className="text-white">About</Link>
You can see "/about" which is the path that we will see in the URL when we want to render the About page. You can add more paths with appropriate text based on your requirements. We have left the path empty for our home page as that makes it the default page which will be rendered first.
Now go to your main.jsx file, we will be defining the paths. Firstly import the necessary elements from react-router-dom into your main.jsx.
import { Route, RouterProvider, createBrowserRouter, createRoutesFromElements } from 'react-router-dom'
Then we declare a javascript variable to store all of our paths and the component to render when we go to that particular path
const router = createBrowserRouter(
  createRoutesFromElements(
    <>
      <Route path='/' element={<Home />} />
      <Route path='/about' element={<About />} />
      <Route path='/contact' element={<Contact />} />
    </>
  )
)
Now as we have defined the paths already we don't need to render <App/> so replace it with <RouterProvider router={router} />.
The entire code of main.jsx is given below
import React from 'react'
import ReactDOM from 'react-dom/client'
import './index.css'
import { Route, RouterProvider, createBrowserRouter, createRoutesFromElements } from 'react-router-dom'
import Home from './components/Home/Home.jsx'
import About from './components/About/About.jsx'
import Contact from './components/Contact/Contact.jsx'

const router = createBrowserRouter(
  createRoutesFromElements(
    <>
      <Route path='/' element={<Home />} />
      <Route path='/about' element={<About />} />
      <Route path='/contact' element={<Contact />} />
    </>
  )
)

ReactDOM.createRoot(document.getElementById('root')).render(
  <React.StrictMode>
    <>
    <RouterProvider router={router} />
    </>
  </React.StrictMode>,
)
With this, your react-routing must be working without any errors. You can check by clicking on the links in the Header and you can see text from different pages being loaded.
I have added the entire source code in my GitHub repository which you can refer to and understand.


